


How to Squash All Commits on a Git Branch?
Introduction
When you work on a project for a while, your Git history can get messy. You might have many small commits, such as fixing a typo, renaming a variable, or adjusting spacing. These minor updates are helpful while coding, but make your branch history hard to read later.
That’s where squashing commits helps. Many teams squash commits before merging into the main branch to keep the project history professional and straightforward. It’s one of the easiest ways to keep your repository organized and avoid confusion during reviews.
In this guide, we’ll learn what it means to squash commits, why it matters, and how to do it step by step.
At a Glance
Combine many small commits into one meaningful commit so your branch tells a clear story.
Squash locally, then open the pull request with one well-named commit and a clear message.
Explain what changed and why; one focused message beats many “fix typo” commits.
If history has been pushed, coordinate with the team and use git push --force-with-lease when needed.
Keep working commits small, resolve rebase conflicts carefully, preserve co-authors, and avoid rewriting release/public branches.
Don’t squash on the wrong branch, don’t forget tests after squashing, and use git reflog to recover mistakes.
Understanding Squash Commits
Squashing commits means combining several smaller commits into one single commit. Instead of having many small entries like “fixed bug” or “updated text,” you group them into one explicit commit that shows the final version of your work.
For example, if you made 10 small commits while building a feature, squashing them turns those 10 into one clean commit. The final result might look like “Add user authentication feature.”
This keeps your Git history simple and easy to read. It helps others understand what changed without going through many small, unrelated updates.
Squashing may sound simple, but it serves an important purpose in maintaining a professional and organized Git workflow.
Next, let’s look at why you should squash commits and how it benefits your entire development process.
Must Read: AI Code Review Techniques and Top Tools
Why You Should Squash Commits?
Here are the main benefits of squashing commits -
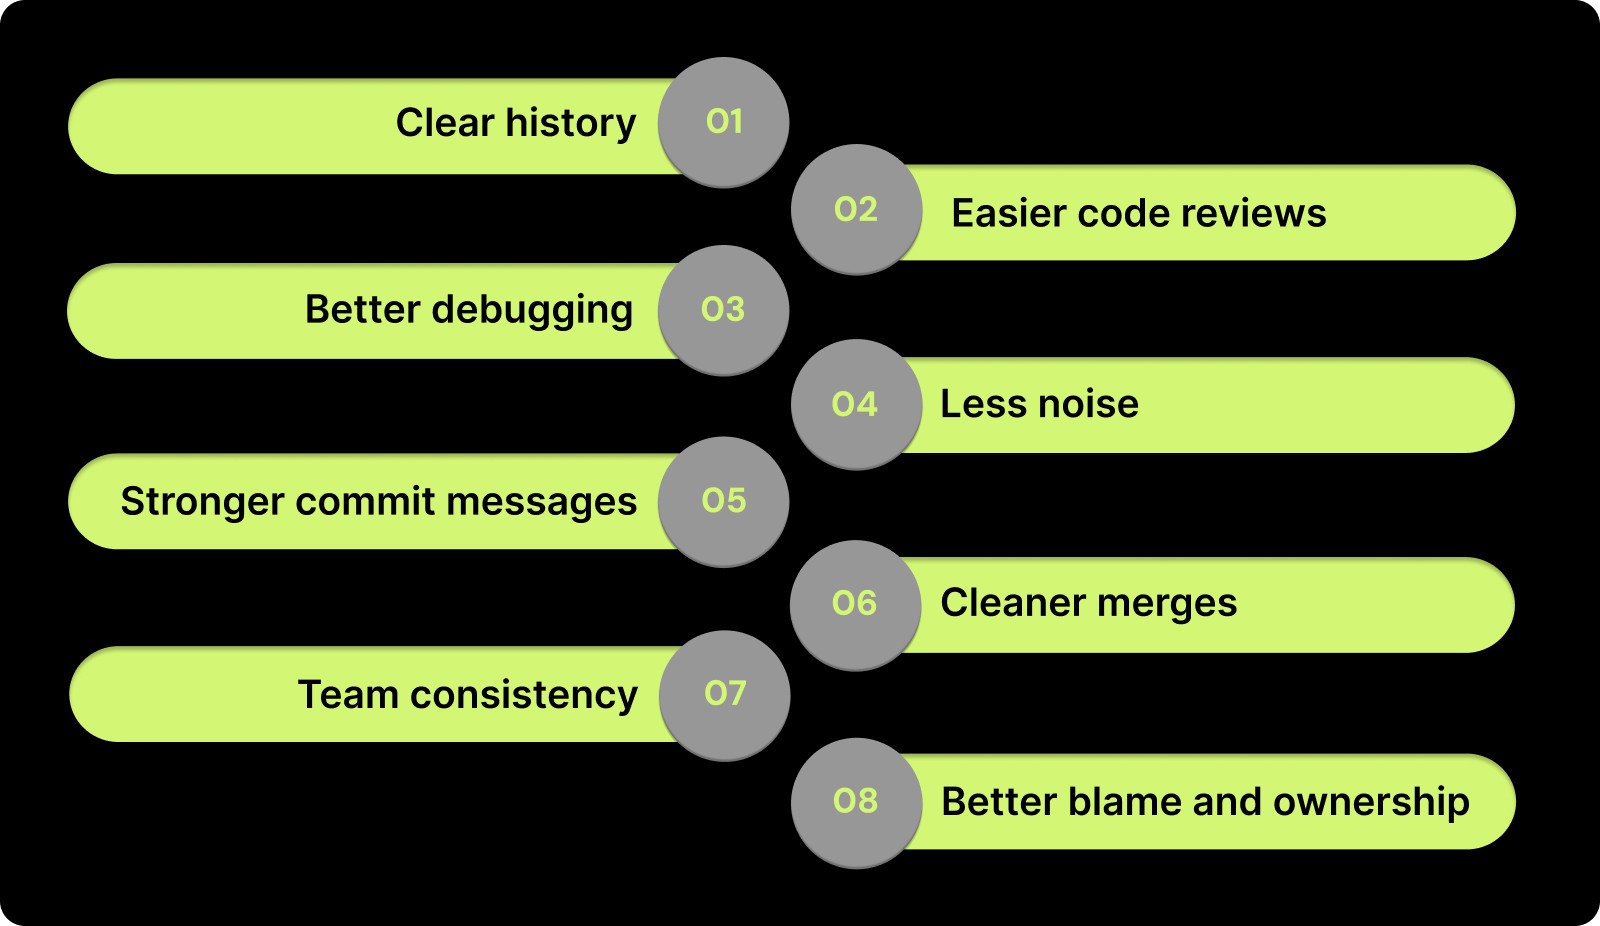
Clear history: One commit tells the full story of the change. Reviewers do not have to scan many tiny commits.
Easier code reviews: A single, well-named commit is simpler to review. It reduces back and forth.
Better debugging: Each commit in the main branch represents a complete, working change.git bisect is easier.
Less noise: “Fix typo” and “rename var” commits stay out of the main history.
Stronger commit messages: You write one focused message that explains the intent and impact.
Cleaner merges: Fewer commits mean fewer conflicts and simpler merge logs.
Team consistency: Everyone follows the same habit. The repository looks professional and organized.
Better blame and ownership: git blame points to one meaningful commit for the feature or fix.
When you finish a feature or bug fix, squash your work into one commit. Then push and open your pull request.
Knowing why squashing matters is one thing, but learning how to do it correctly is what makes a difference. Let’s go through the most effective methods to squash commits in Git.
Methods to Squash Commits in Git
Below are three common ways to squash commits. Pick the one that fits your workflow.
1) Interactive rebase (most control)
Use this when you want to combine the last N commits on your current branch.
Checkout your feature branch
git checkout feature-branch
Start an interactive rebase for the last N commits
git rebase -i HEAD~N
A file opens in your editor. You will see lines that start with pick.
Leave pick on the first commit you want to keep as the base.
Change pick to squash (or s) for the commits you want to merge into the first.
Save and close the file.
Git will ask for a final commit message. Edit it, then save.
If you already pushed this branch, update the remote:
When to use: You want a single clean commit and full control over which commits combine.
Undo tip: If something goes wrong, run git rebase --abort.
2) Merge with squash (no history rewrite on the feature branch)
Use this when you want one commit on the target branch but keep your feature branch history as is.
Switch to the target branch (for example, main)
git checkout main
Bring in the changes as one squashed commit
git merge --squash feature-branch
Create the single commit
git commit -m "Add feature X"
Your main now has one clean commit. The feature branch still has its original commits.
When to use: You want a tidy main branch and prefer not to rewrite the feature branch history.
Note: This does not record a merge commit. It creates a normal commit with the combined changes.
3) Soft reset and recommit (quick for the last few commits)
Use this to squash the most recent N commits into one new commit.
# Stay on your feature branch
git reset --soft HEAD~N
git commit -m "One clean commit for feature X"
When to use: You only need to combine the last few commits, and you are fine rewriting local history.
Warning: If you already pushed, use git push --force-with-lease.
Each method offers a different level of control and flexibility, depending on your workflow. Once you know how to squash, it’s equally important to follow best practices that keep your process clean and safe.

Must Read: Essential Metrics for Measuring Code Quality
Best Practices When Squashing Commits
Here are some best practices to follow:
1. Squash Before Opening a Pull Request
Clean up your local commit history before creating a pull request. This makes it easier for reviewers to see a single, clear change rather than several small “work-in-progress” commits. It also helps avoid extra review comments on temporary or experimental updates.
2. Write a Clear and Descriptive Commit Message
After squashing, your single commit message should summarize the full purpose of the change. Explain what you did and why you did it. A clear message helps reviewers, future developers, and even your future self understand the intent behind the change.
3. Choose the Right Squashing Method
Use interactive rebase (git rebase -i) when you want full control and need to combine specific commits.
Use merge with --squash to combine commits at merge time without rewriting your feature branch history.
For smaller fixes, git reset --soft HEAD~N works well.
4. Keep Commits Small While Developing
Make frequent commits as you work on a feature. Each commit should represent a small, logical step. Once the feature is complete, squash them into a single clean commit before pushing. This makes development flexible while keeping the final branch organized.
5. Coordinate With Your Team Before Rewriting History
Rewriting commit history affects shared branches. Always check with your team before force-pushing squashed commits. This avoids merge conflicts, lost work, or confusion for teammates who already pulled the previous history.
6. Use Safe Force Push Commands
If you’ve already pushed commits and need to overwrite them after squashing, use:
git push --force-with-lease
This ensures you don’t accidentally overwrite new commits that others may have pushed. It’s safer than git push --force.
7. Double-Check Which Commits You Are Squashing
Before squashing, run:
git log --oneline
to confirm which commits will be combined. After squashing, check again to make sure the result looks right and that no essential changes were lost.
8. Resolve Conflicts Carefully During Rebase
If conflicts occur while squashing, fix them patiently and run git rebase --continue. If the rebase goes wrong or feels confusing, cancel it safely with git rebase --abort and try again.
9. Maintain Proper Authorship
When combining commits from multiple developers, don’t remove credit. You can preserve authorship by adding co-author lines to the final message:
Co-authored-by: Name <email@example.com>
This ensures contributions are properly recognized.
10. Avoid Squashing Public or Release Branches
Never rewrite commits that have already been published in release branches or shared tags. Squashing those commits can rewrite public history, leading to confusion, broken references, or lost work.
11. Follow Your Project’s Contribution Rules
Different projects have different version control policies. Some require squashed commits in every pull request, while others prefer full commit history. Check your team’s or open-source project’s contributing guide before squashing.
12. Document the Team’s Squash Workflow
If your team regularly uses squashing, write clear guidelines in your CONTRIBUTING.md file. Include when to squash, how to push safely, and how to name final commits. This ensures everyone follows the same clean workflow.
Following these best practices ensures you get all the benefits of squashing without introducing confusion or lost work. Still, mistakes can happen. So let’s go over the most common ones and how to avoid them.
Must Read: Understanding Code Scanning for Vulnerabilities
Common Mistakes and How to Avoid Them
Even though squashing commits seems straightforward, small mistakes can lead to messy histories or even lost work.
Here are some of the most common errors developers make and how to avoid them.
1. Squashing After Pushing to a Shared Branch
Once you push your commits to a remote branch, other developers might have already pulled that version. If you then squash and force-push, it rewrites history and can cause merge conflicts for others.
How to avoid it:
Only squash commits that are still local, or coordinate with your team before force-pushing. If you must rewrite a shared branch, use git push --force-with-lease to ensure you don’t overwrite others’ work.
2. Forgetting to Update the Commit Message
After squashing, some developers keep the default commit messages. This leads to unclear history like “fix typo,” “update,” or “final changes.”
How to avoid it:
Always rewrite the final commit message to describe the entire change clearly. Include both the purpose and the scope of the work.
3. Losing Track of Which Commits Were Squashed
During an interactive rebase, it’s easy to select the wrong number of commits or forget which ones should be combined.
How to avoid it:
Before starting, use git log --oneline to review your commits. Count how many you need to squash and double-check your selections in the editor before saving.
4. Over-Squashing and Losing Useful History
Squashing too aggressively can hide valuable details from the commit history, making debugging harder later.
How to avoid it:
Squash related commits together, not everything in your branch. If you worked on two unrelated tasks, keep them as separate commits. Each commit should represent one logical change.
5. Forgetting to Test After Squashing
Sometimes the squash process can accidentally drop small but important edits, especially when resolving conflicts.
How to avoid it:
Run your tests after completing a squash. Verify that your project still builds and behaves correctly before pushing.
6. Mixing Rebase and Merge Workflows Without Coordination
When different developers use different Git strategies, some rebasing and others merging, it can lead to confusing histories or broken branches.
How to avoid it:
Agree on a team-wide workflow. If your project uses squash merges or rebasing, everyone should follow the same process for consistency.
7. Ignoring Conflicts During Rebase
When conflicts appear during an interactive rebase, rushing to fix them without care can lead to lost lines of code or incomplete merges.
How to avoid it:
Resolve conflicts carefully and use git rebase --continue to move forward step by step. If you feel unsure, use git rebase --abort to cancel and start again safely.
8. Squashing Commits From Multiple Authors Without Credit
When multiple developers contribute to a branch, squashing all commits into one without co-author tags can remove contribution history.
How to avoid it:
If you squash a branch with multiple contributors, add Co-authored-by: lines at the end of the final commit message. This keeps the contribution record accurate.
9. Squashing on the Wrong Branch
Accidentally running rebase or squash commands on main or another critical branch can rewrite important shared history.
How to avoid it:
Always check your current branch using git status before running any squash command. Perform squashes only on your local feature or bug-fix branches.
10. Not Using Reflog for Recovery
Mistakes happen, especially when rewriting commits. Some developers think lost commits are gone forever.
How to avoid it:
Use git reflog to view your previous HEAD positions. You can easily recover a lost state or undo an incorrect squash from there.
Avoiding these mistakes will help your team maintain a healthy, readable, and consistent Git history. But for larger teams, doing this manually across many branches can be difficult. This is where Entelligence.ai makes a real difference.
Must Read: Exploring Reasoning in GPT-5: What Developers Need to Know
How Entelligence.ai Helps Teams Maintain Clean, Squashed Commit Histories?
Maintaining clean, squashed commit histories sounds simple, until you’re managing multiple contributors, long-lived branches, and parallel releases. Without visibility and consistency, Git histories can quickly fill with redundant or unclear commits, making debugging harder and code ownership less transparent. Over time, these inconsistencies add up, reducing traceability and confidence in the codebase.
Entelligence.ai solves this by bringing automation, intelligence, and structure to your Git hygiene. It embeds review, merge, and documentation intelligence directly into your IDE and repositories. This ensures every branch follows consistent commit practices without adding extra manual work.
Here’s how Entelligence.ai helps your teams maintain clean, squashed commit histories:
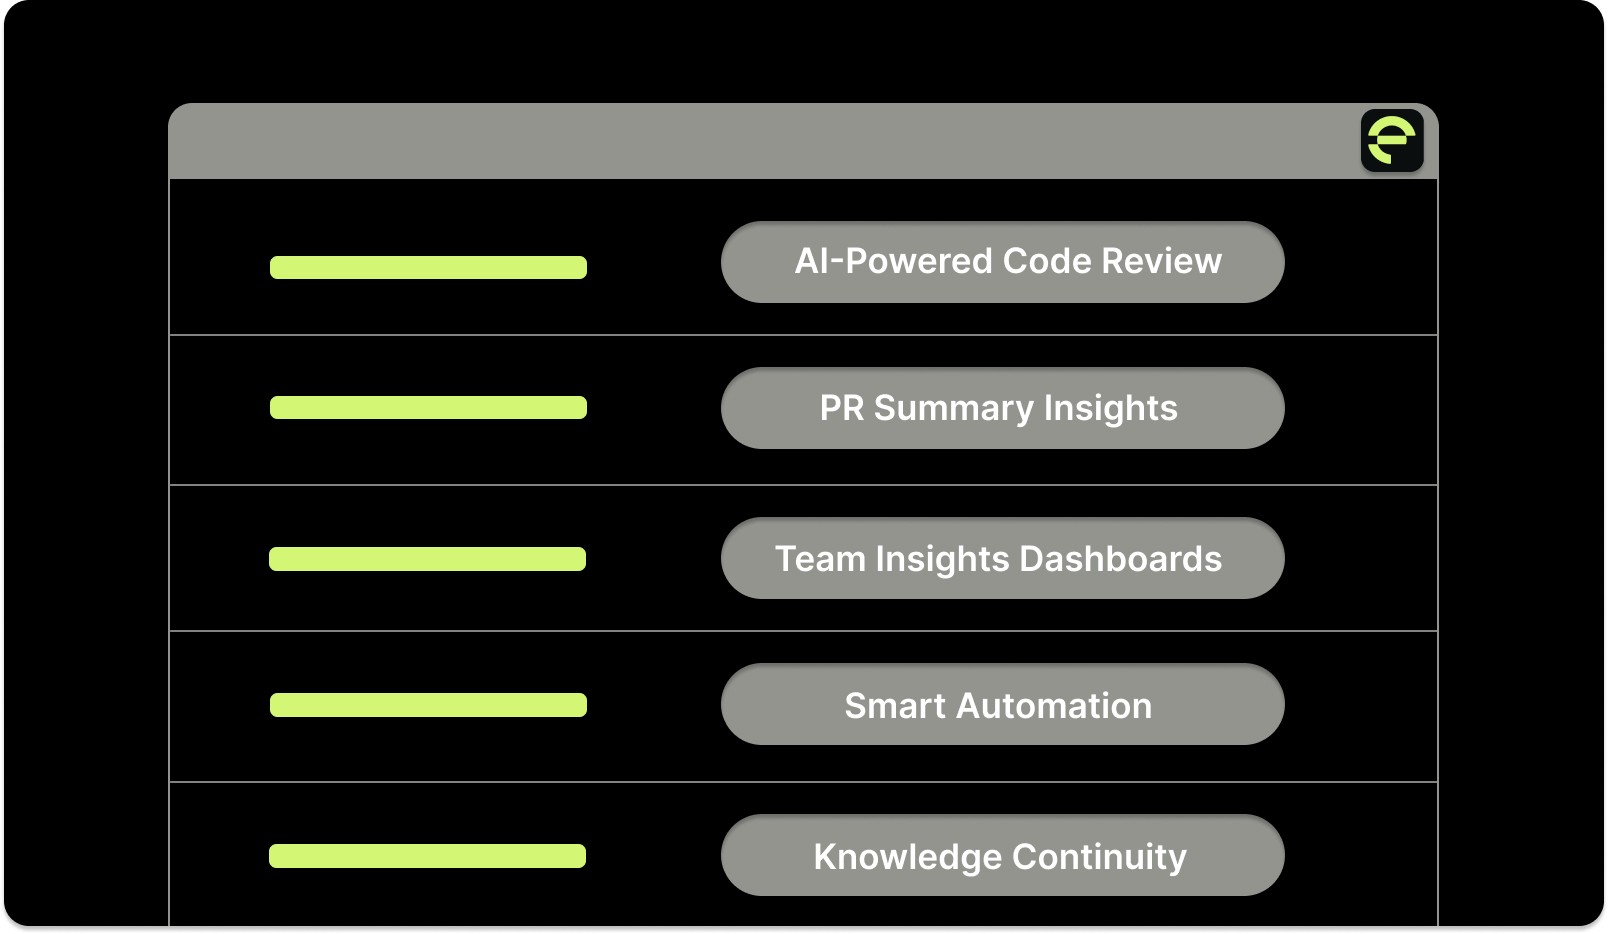
AI-Powered Code Review: Automatically identifies redundant or low-impact commits before merge, encouraging cleaner histories and more meaningful changes.
PR Summary Insights: Generates context-aware summaries that highlight major code changes, helping reviewers focus on intent rather than commit noise.
Team Insights Dashboards: Tracks review quality, merge times, and codebase health. This gives leaders a clear view of how well teams maintain their branch and commit practices.
Smart Automation: Integrates directly into your IDE and repositories, helping developers apply best practices like squashing, rebase checks, and structured PR templates automatically.
Knowledge Continuity: Links squashed commits, documentation, and comments across sprints, ensuring the reasoning behind each change is never lost.
With Entelligence.ai, you and your team build clarity, consistency, and context into every branch.

Conclusion
Keeping a clean and readable Git history is one of the simplest ways to improve collaboration and code quality. Squashing commits reduces confusion, speeds up reviews, and makes your repository easier to maintain in the long run.
By following the right methods and best practices, your team can maintain a professional workflow where every commit tells a complete story.
With tools like Entelligence AI, you can take it even further and automate code reviews, improving version control hygiene, and ensuring every branch is clean, consistent, and ready to merge.
Want to make your Git process smarter and more efficient? Try Entelligence AI and see how effortless clean, organized commits can be. Book a free demo today!

Frequently Asked Questions
Q1. What does it mean to squash commits in Git?
Squashing commits means combining multiple commits into one. It helps simplify your Git history by turning several small changes into a single, meaningful commit.
Q2. When should I squash my commits?
You should squash your commits before merging a feature branch into the main branch. This keeps your project history clean and helps reviewers focus on the overall change, not on minor edits or fix commits.
Q3. What’s the difference between rebase and merge squash?
Both methods combine commits, but they work differently.
Rebase squash rewrites history on your branch.
Merge squash combines changes into one commit when merging into another branch without altering your branch’s history.
Q4. Is it safe to squash commits after pushing?
It’s possible, but risky. If others have already pulled your branch, squashing and force-pushing can cause conflicts. Only squash after pushing if you’re sure no one else is working on the same branch, or coordinate with your team first.
Q5. How can I undo a squash if something goes wrong?
If you made a mistake during a squash, use git reflog to find your previous commit history. You can then reset your branch to an earlier state. You can also cancel an ongoing rebase with git rebase --abort.
Q6. Does squashing remove my commit history permanently?
Yes, squashing replaces multiple commits with a new one. The old commits are not visible in normal history anymore, but you can still recover them using git reflog if needed.